15 Easy DIY Easter Garlands
Looking for a fun and simple Easter decorating idea? These DIY Easter garlands are easy to make and perfect for adding a spring touch to your home decor.
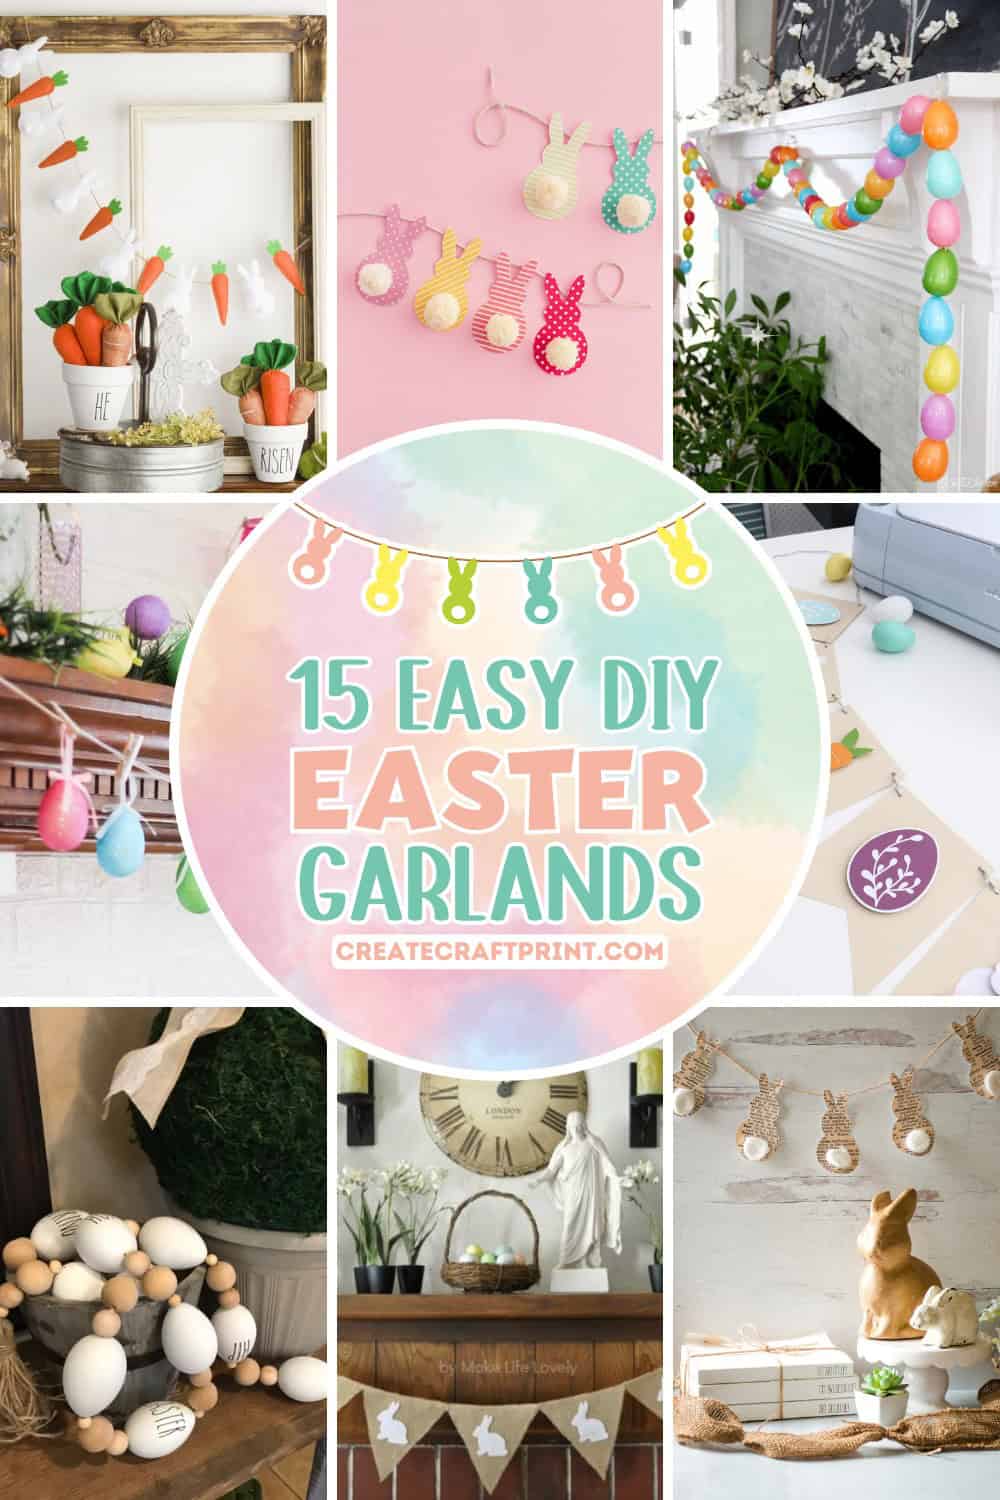
Whether you prefer bright and colorful designs, rustic vintage charm, or farmhouse-style decorations, there’s an Easter project for every style. These DIY banners are beautiful and a fun way to celebrate the spring season while adding a personal touch to your space.
From pastel-colored paper bunnies to rustic burlap banners and creative egg garlands, each project is designed to bring Easter spirit to your home. Many of these crafts use cheap and easily accessible materials like scrapbook paper, felt, fabric scraps, wooden beads, and jute string, making them budget-friendly and beginner-friendly.
Whether you’re looking for a quick afternoon spring craft to enjoy with the kids or an elegant handmade banner to complement your Easter decor, these garland ideas will inspire your creativity. Each craft comes with step-by-step instructions to guide you through the process so you can create a custom decoration that perfectly fits your style.
Whether you’re hanging a garland on your mantel, draping it across a doorway, or using it as a centerpiece for your springtime gatherings, these DIY projects will add a colorful and festive touch to your home.
DIY Easter Garlands
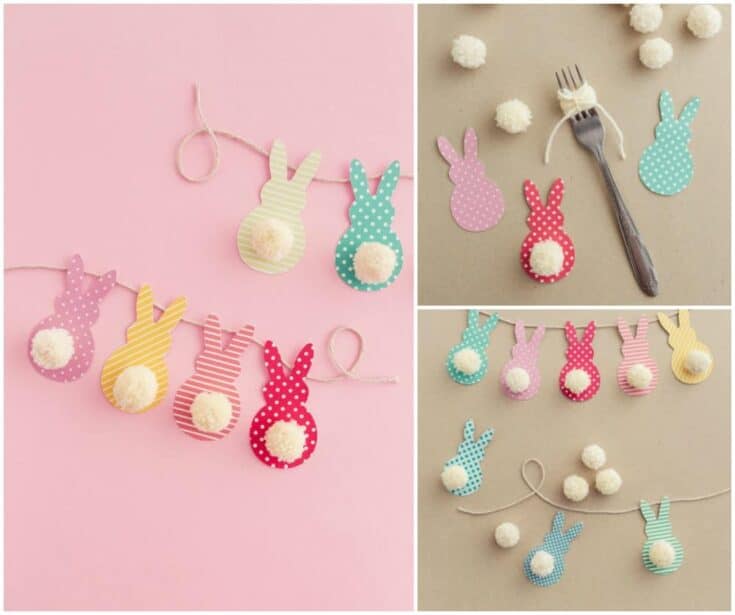
Give your home a springtime makeover with this cute decor idea from DIY Candy. This craft involves cutting out charming bunny shapes from colorful scrapbook paper and adorning them with fluffy yarn pom-pom tails. The process is simple and enjoyable, making it perfect for both kids and adults. Once assembled, string the bunnies together to create an adorable garland that adds a festive touch to any room.
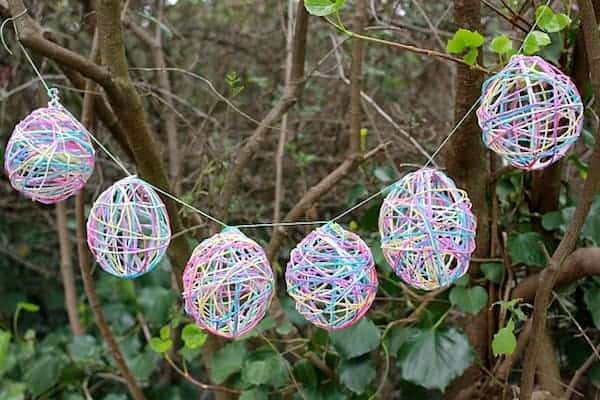
Add a touch of handmade charm to your Easter decor with this String Easter egg garland from Mod Podge Rocks. This project involves wrapping colorful yarn around small balloons coated with Mod Podge. Once the yarn dries, the balloons are popped, leaving behind delicate and airy yarn eggs. These can be strung together to form a garland that brings a pop of color and a crafty flair to your home.
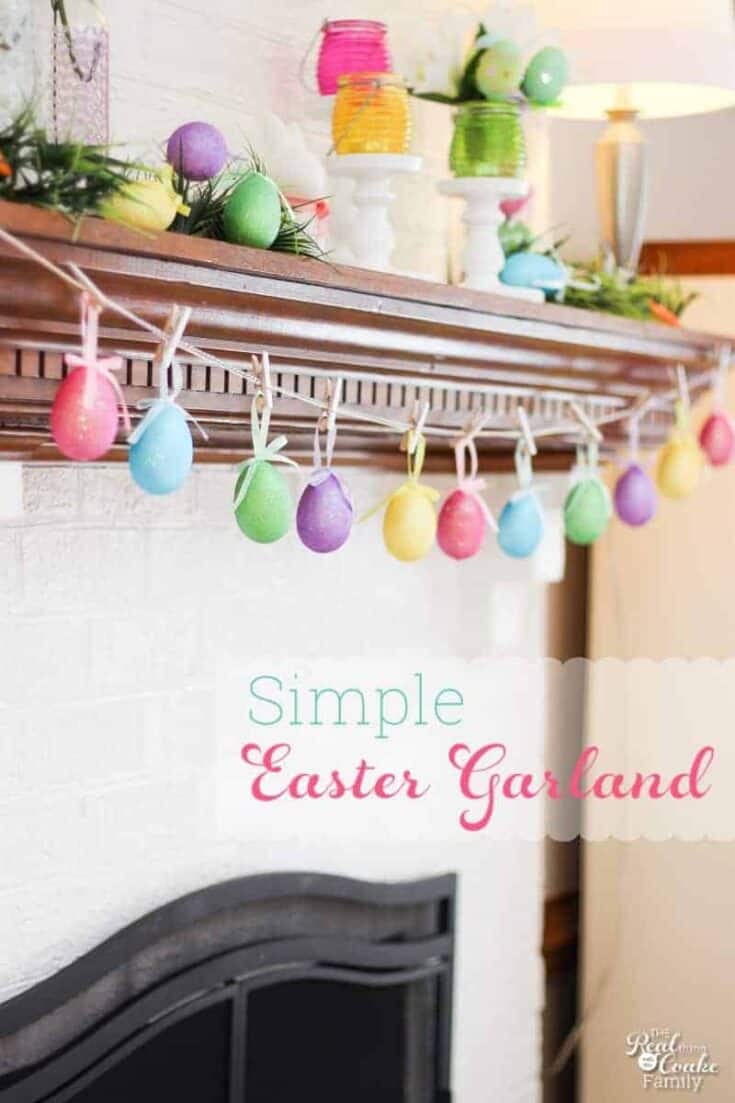
Brighten up your space for spring with this DIY garland from Real Creative Real Organized. This quick and easy craft uses glittery plastic eggs and baker's twine to create a festive garland in just five minutes. Simply attach the eggs to the twine using mini clothespins, and your DIY easter decoration is ready to hang. It's a perfect last-minute project.
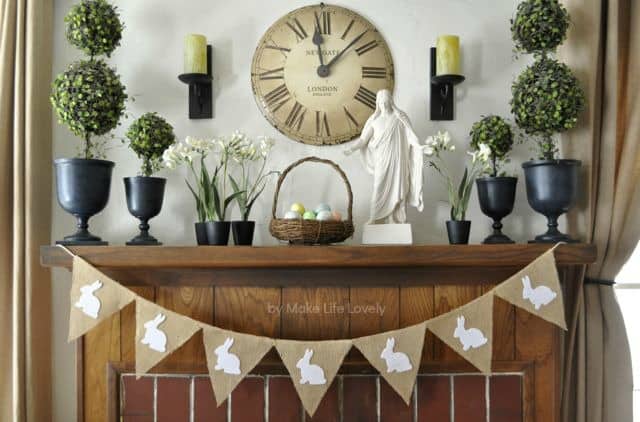
For a rustic addition to your Easter decor, try this craft from Make Life Lovely. It involves cutting burlap into triangle pennants and adding felt bunny silhouettes to each piece. The pennants are then strung together with twine to create a garland that exudes a cozy, vintage feel.

Infuse your home with the vibrant colors of Easter with this project from Kelly Elko. This project uses dollar store plastic Easter eggs, which are strung together to create a colorful garland. The process is straightforward and allows for customization with your favorite colors. Once complete, hang the garland on your mantel, doorway, or any space that could use a festive touch.
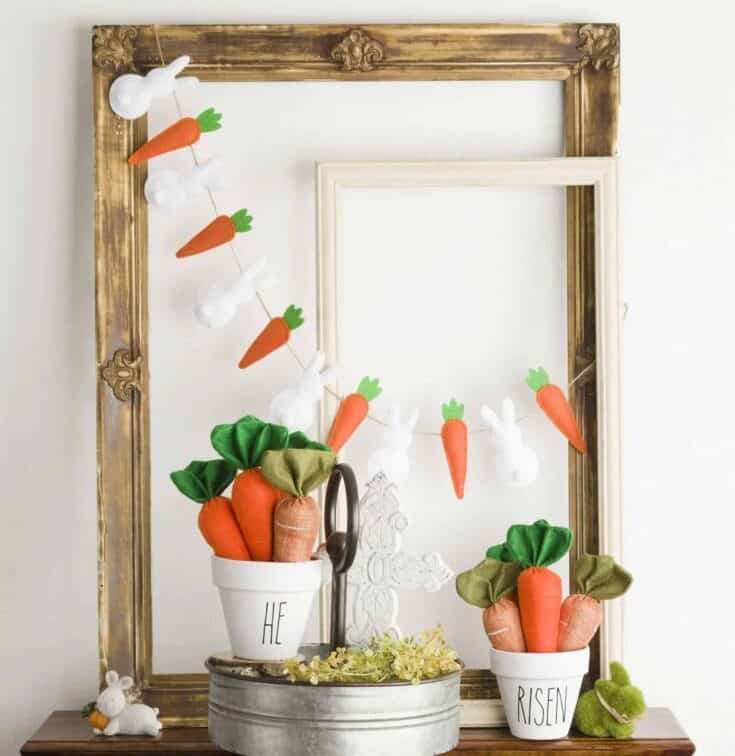
This felt bunny and carrot banner adds a playful touch to your easter decor, whether you want to display it as a vignette or on the mantel. It is made with an SVG file that was cut out and stitched together. You can use the files to make the cuts on a Cricut machine in either paper or fabric.
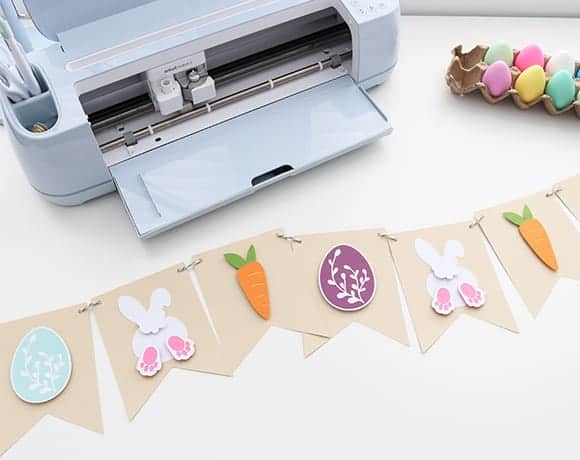
This craft features cute pennants adorned with cardstock bunnies, eggs, and carrots, all precisely cut using a Cricut machine. The tutorial provides step-by-step instructions, including tips on selecting pastel-colored cardstock, assembling the layered pieces with glue and foam tape for added dimension, and stringing the pennants together to form a festive garland.
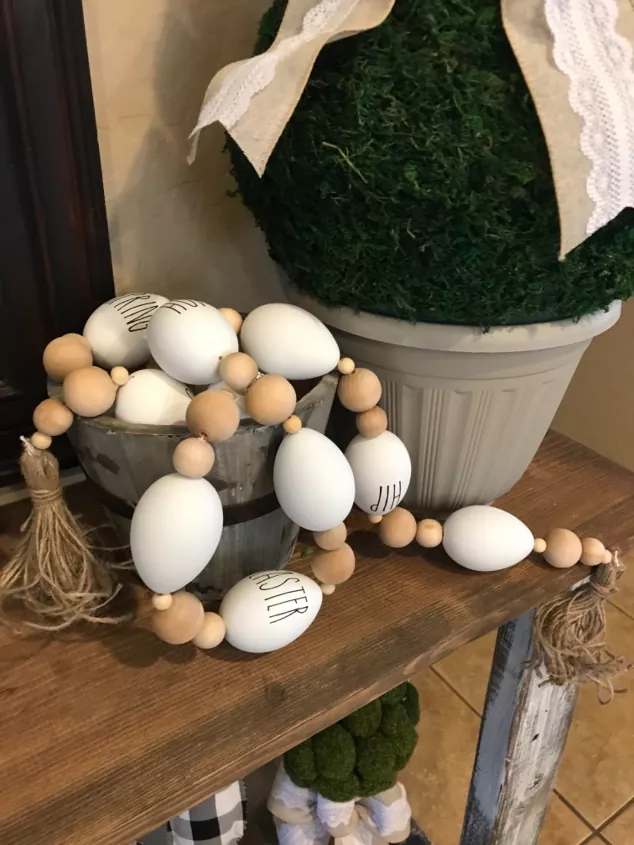
Give your Easter decor a trendy farmhouse touch with this project. It uses plastic eggs, wooden beads, and jute twine to create a rustic garland. The process starts by drilling holes into both ends of the plastic eggs, allowing them to be threaded onto the string. Wooden beads are added in a chosen pattern, and for an extra personalized touch, vinyl decals featuring Rae Dunn-inspired words are applied to every other egg. Handmade jute tassels are attached to each end to complete the garland, adding a stylish, rustic finish.
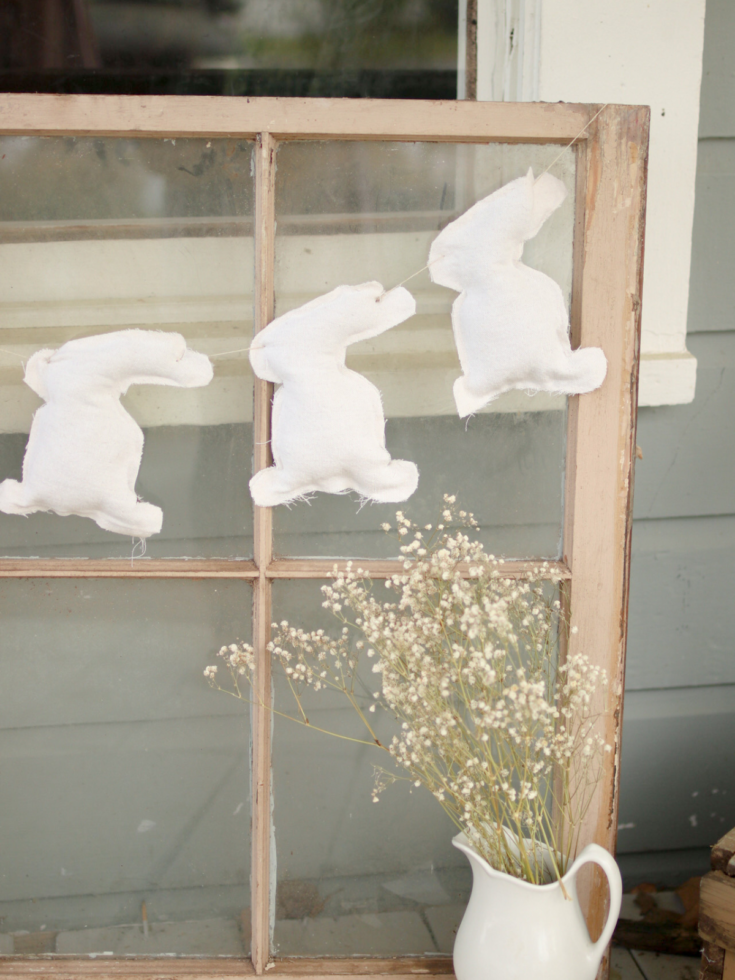
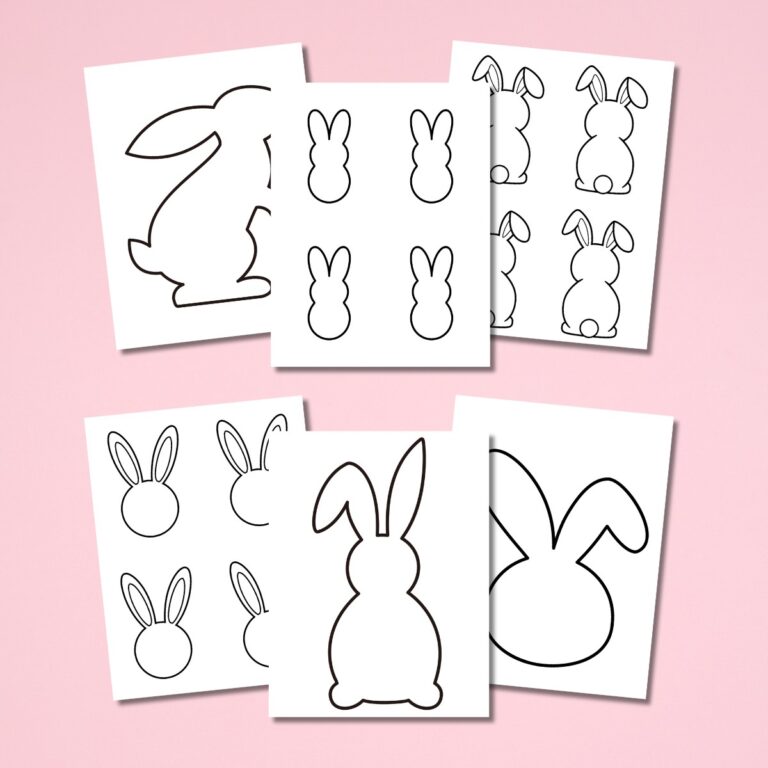
This no-sew project utilizes drop cloth or scrap fabric to create adorable stuffed bunnies, making it easy even for those without sewing experience. The tutorial provides a free bunny template to trace onto double-layered fabric, which is then cut out and glued together, leaving an opening for stuffing. After filling the bunny with polyfill, the final steps involve sealing the opening and adding optional embellishments like fabric bows or stamped messages for a personalized touch. Once completed, the bunnies are strung together using a needle and thread or twine, resulting in a cute garland that embodies farmhouse elegance.
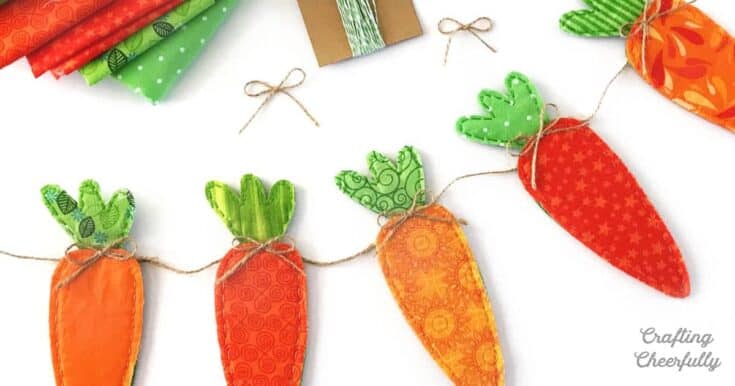
This craft project repurposes orange and green fabric scraps to create whimsical carrot-shaped pennants. The tutorial provides a free template and guides you through the process with clear steps, making it simple for beginners. Once assembled, the carrots are strung together with twine. It's an excellent way to utilize leftover fabric while crafting a unique Easter decoration.
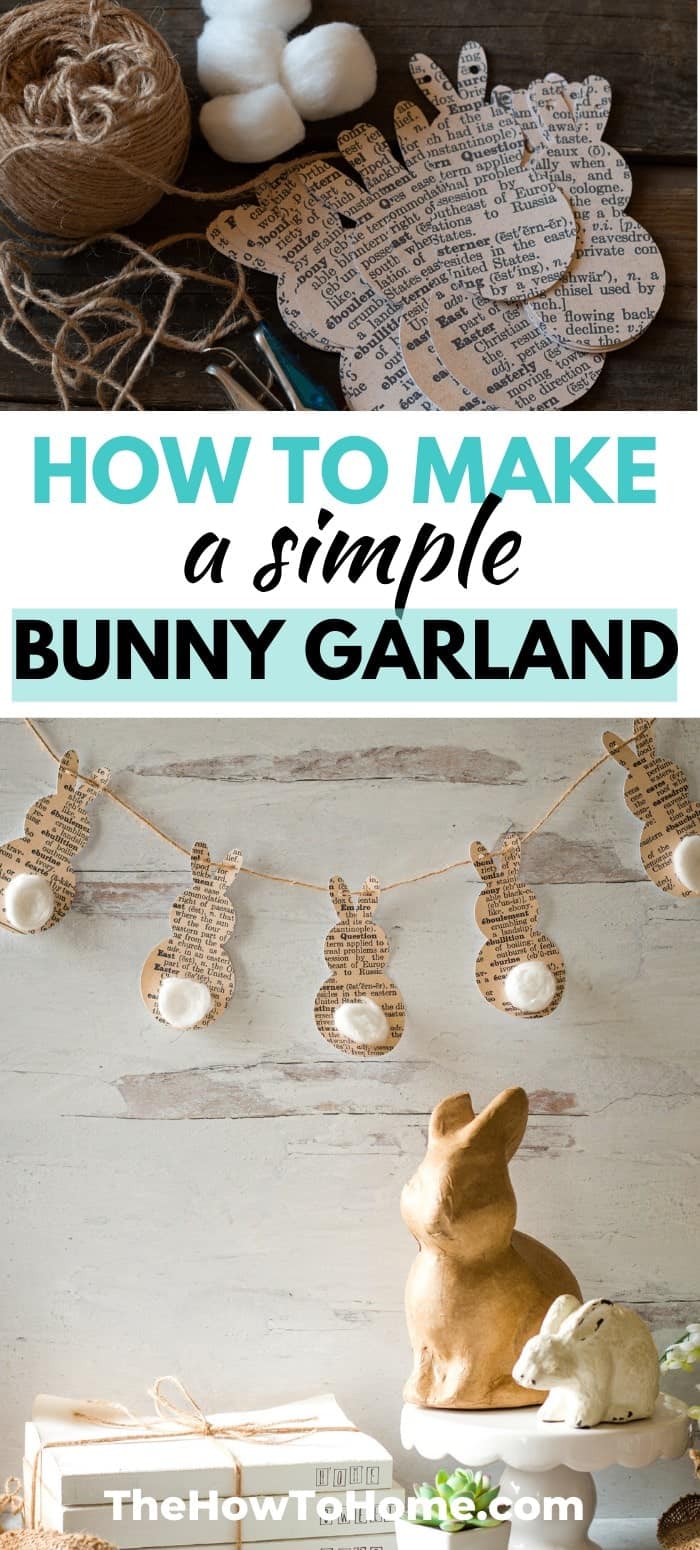
Add a touch of vintage charm to your Easter decor with The How-To Home's paper garland. This DIY project involves creating bunny cutouts from printed vintage dictionary pages or any decorative paper of your choice. The tutorial provides a free bunny template and an SVG file for cutting machines like a Cricut, making the process accessible to everyone. After cutting out the bunnies, small holes are punched at the top of each ear to string them together with twine, and cotton ball tails are added for a cute touch.

Transform leftover paint chips into a colorful Easter Egg Garland with this fun project from The Sweetest Digs. Begin by selecting pastel-colored paint chips and cutting them into egg shapes, ensuring to incorporate any existing white stripes for added charm. Attach the eggs to a piece of string using tape on the back of each cutout, creating a festive garland that showcases ombre hues and striped patterns in spring colors. This simple yet eye-catching craft is perfect for adding a festive touch to your home and is easy enough for kids to join in.
More Easter and Spring Activities